Introduction
Scrumpy Planning Poker provides an easy way to connect to Jira and Confluence. The integration includes automatically filling in story/bug/task details, placing story points on tickets when voting is complete and finally adding a comment in the story how it was estimated and what was the average estimate. Optionally, a Confluence summary page can be generated with anonymous voting information for each ticket refined during the session.
The Atlassian Plugin
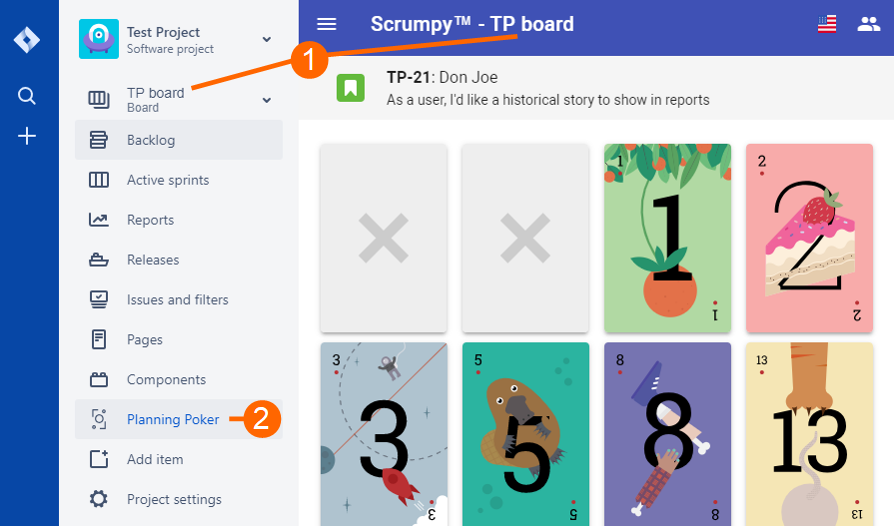
The most straight-forward way to integrate with Jira and Confluence is to install the Atlassian plugin. From inside Jira using a simple shortcut, a planning poker room can be open and associated with the currently selected project board. The name of the room is the name of the Jira board. The Jira users will be mapped directly to participants and the estimating process can immediately start.
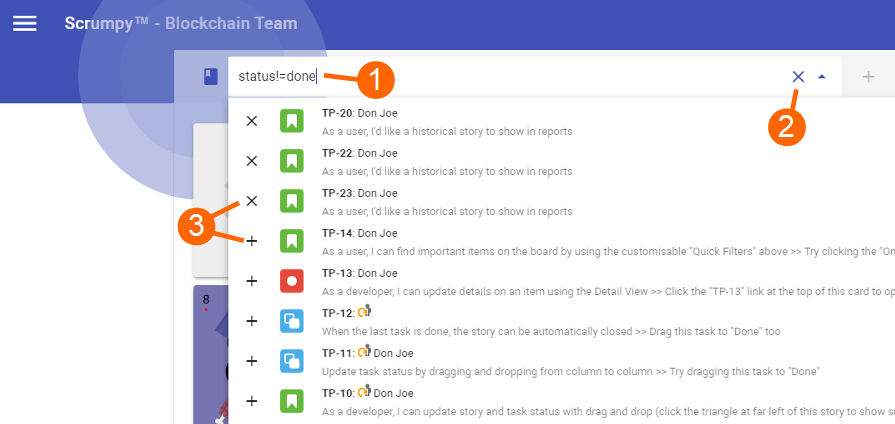
From inside the story search box in the planning poker room, the Jira tickets can be individually selected or in bulk using JQL.
Getting the Atlassian API token
In case installing the plugin to the Jira Cloud instance is not an option, an API token can be generated to let Scrumpy Planning Poker use Jira and Confluence on your behalf.
The information that Scrumpy Planning Poker needs
Using this API token, Scrumpy Planning Poker will be able to search tickets in Jira as you type them in the search box, automatically update the story points estimate, add comments in the ticket with a summary and finally generate a summary Confluence page.
Obtaining the API token
To get this token, navigate your browser to the Atlassian Account Management portal and log in if not yet signed in.
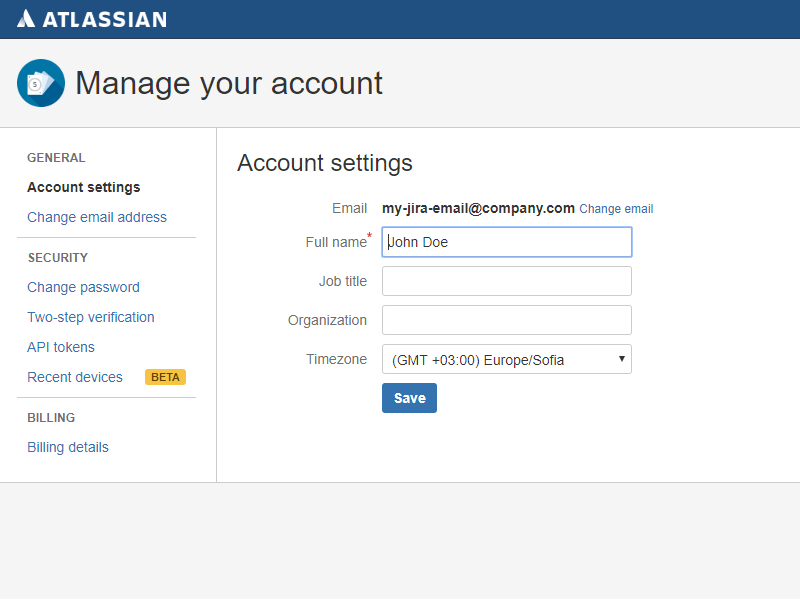
The next step is to select the API tokens menu on the left. This menu will take you to the next screen, where you can create a new API token. Those tokens can be revoked at any time and are not connected in any way with the master password of your account.
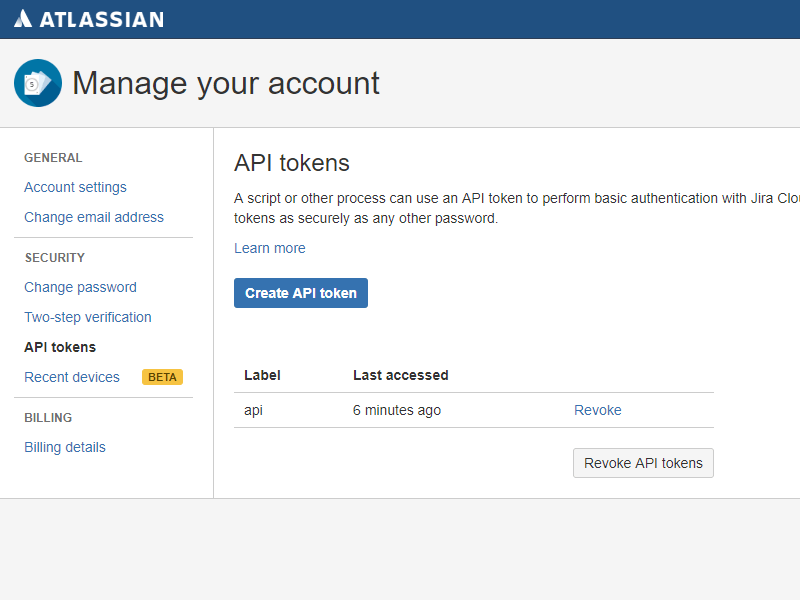
The final step is to press the Create API token which will generate a new API token. The token can be copied to the clipboard so that it can be easily pasted in the Scrumpy Planning Poker settings dialog box later.
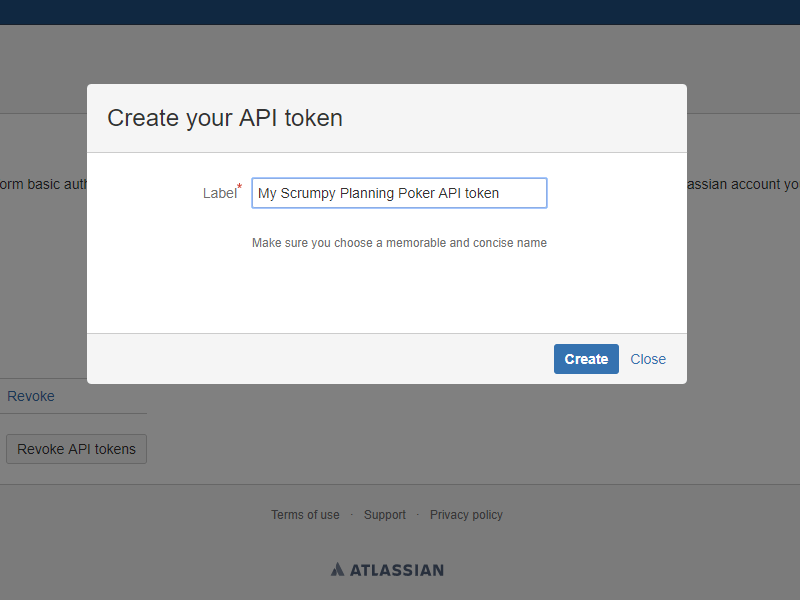
After pressing the Create button, the token is ready to be entered in the Scrumpy Planning Poker settings and start using the Jira and Confluence integration.
Setting up Scrumpy Planning Poker
After the Jira site URL, the user on whose behalf the integration will happen and the API token are at hand, they can be entered in the settings page of Scrumpy Planning Poker.
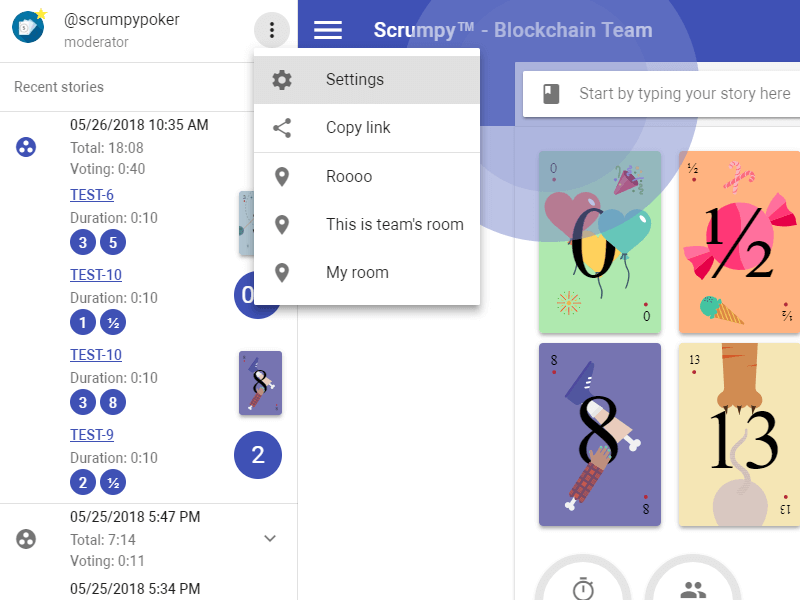
When the Settings dialog box opens up, choose the Integrations tab to navigate to the settings that are specific to integrations with external applications.
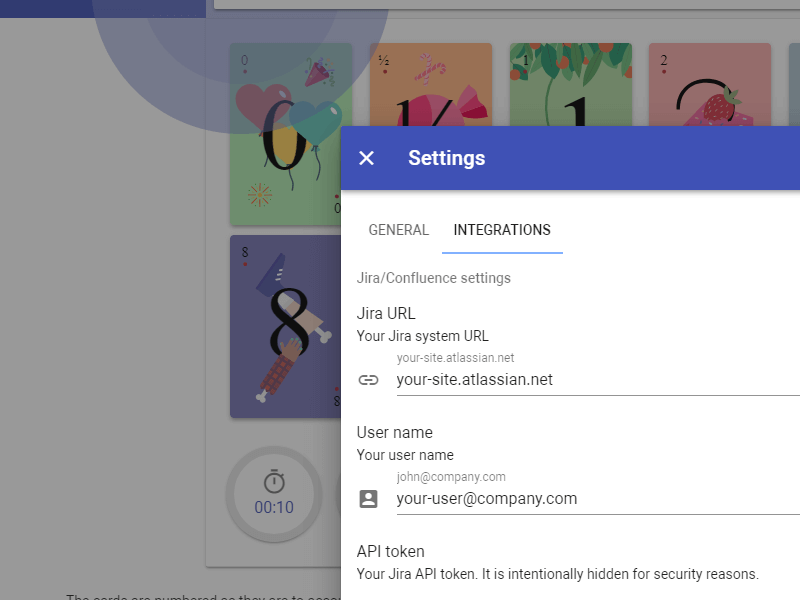
The final step of the configuration is to fill in the Jira URL, the Username and the API token for Jira and Confluence integrations. The Jira URL is usually in the format <company>.atlassian.net or <company>.jira.com.
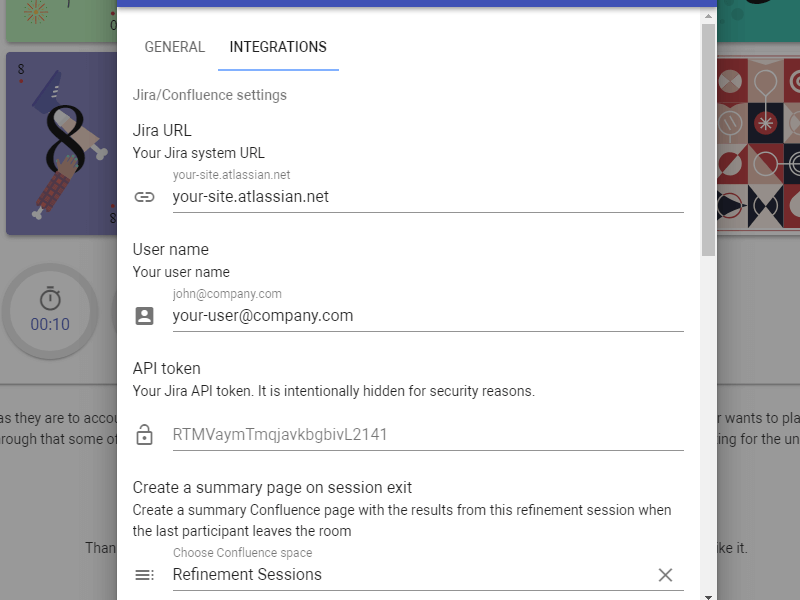
After the Atlassian credentials have been set up, a Confluence space can be selected to contain the summaries of the refinement sessions. For example, a brand new space called “Refinement Sessions” or “Refinement Sessions – Blockchain Team” can be created. If this is not needed, but previously set up, the X button can be used to remove the option to generate refinement session summaries.
Finally, the setup can be tested by trying to search for a Jira ticket in the search box of Scrumpy Planning Poker:
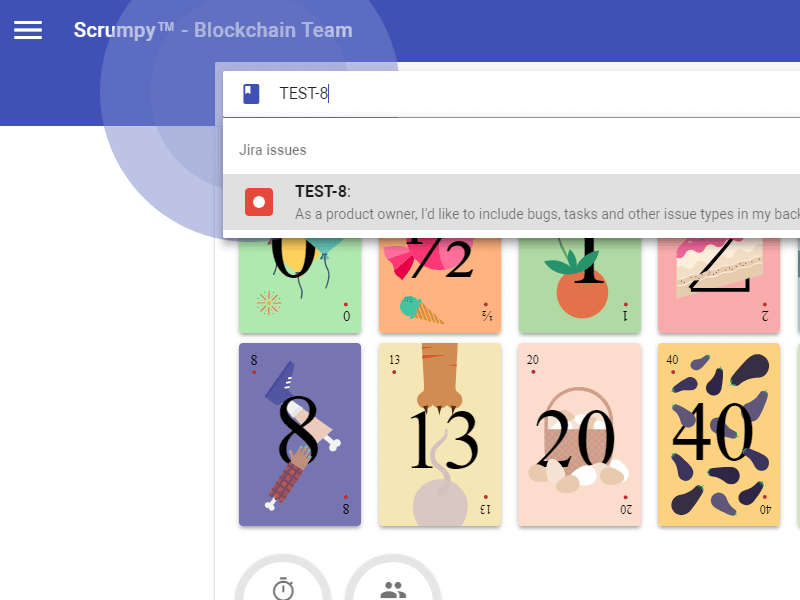
Congratulations! You can now set your Jira URL, user and API token in the Scrumpy Planning Poker’s room settings. This will allow you to search for Jira tickets, automatically fill in estimates in tickets and get a generated summary page at the end of the refinement session.
Please check this video tutorial on how you can setup Jira and Confluence integration and how you can prepare the tickets for the refinement sessions, estimate them and let Scrumpy Planning Poker automatically fill in the estimates and comments.

