Introduction
After quite some time of silence, we’re ready with a major new release. It addresses the pile of most important features requested. Below is a list of new features and bugfixes available in this release.
Note: If you experience issues, for example you cannot select stories as moderator, please fully reload the page (Shift + Reload browser button). This will ensure that all static resources are downloaded.
New Features
The new features are focused around more usablity with the collaboration editor, more intuitive interface for the asynchronous voting and Jira improvements.
Voting perspectives
The voting perspectives show a different estimation view on a ticket. In many cases it is needed to estimate tickets from different point of view, for example complexity of implementation, testing effort, business value, system risk, rank, etc. In the previous versions it was possible to estimate a ticket only from one point of view only. Now it is possible to create multiple voting perspectives and assign presets to them. This makes it possible for sequential estimation of the same story with a different method and update different fields for each perspective.
The perspectives are controlled directly from the story view and new perspectives can be added without going to the room settings. They are completely custom and ad-hoc and can be named in any convenient way. Each perspective has also a short description that can be edited in-place. The description is a good addition to the name to show the participants what they are voting for.
Note: It’s preferable to keep the perspective names short so that no horizontal scrolling is needed when switching perspectives.
The advantage of perspectives is that you can estimate one single story from multiple perspectives in one shot. In horizontal story flow when the regular estimation in story points is complete, the perspective is automatically switched and the next story from the new perspective is estimated. The process is repeated when estimation is complete.
Another option is to do switch to the vertical story flow. In this mode all stories from the regular perspective are estimated and when ready the next perspective is activated. When all stories from the new perspective are estimated the next one is activated and so on. This mode is convenient for teams that distribute the planning session for different groups of people who estimate only a particular perspective.
Each perspective can have a preset assigned to it. In this case, when a new story is added to the preset, the perspective preset is automatically assigned to the story. Since each preset can have a custom estimate field, this means that estimating a story in each perspective will update a different field. This allows estimating several fields both Numeric and Time of a story. You can certainly have different fields, different description fields, different estimation cards and modes per preset making the available combination for estimation able to fit any need.
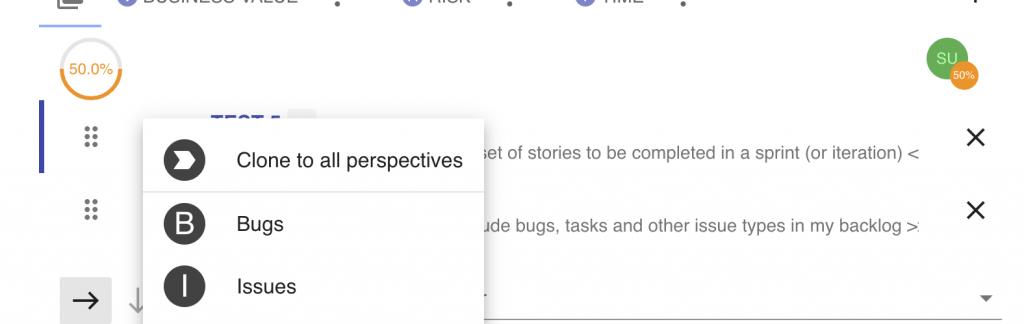
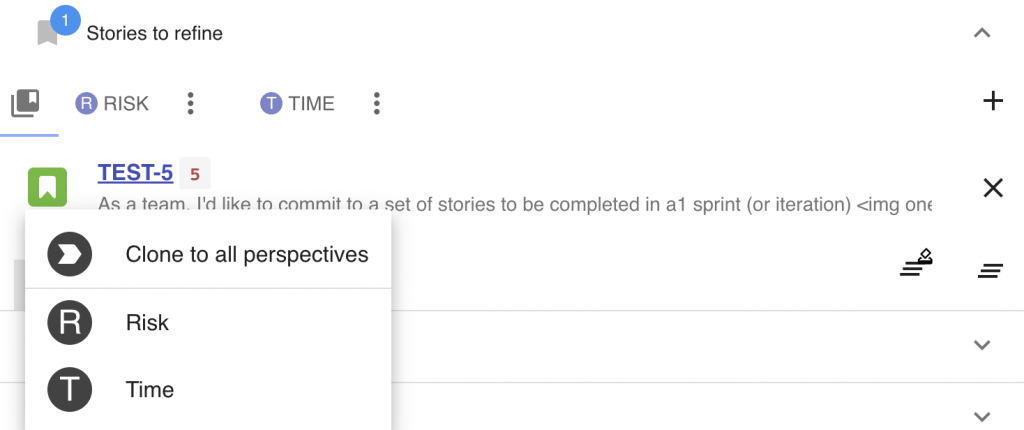
A convenient way to populate the stories for all perspectives is row by row as if all stories are in a table. There is a context menu command that populates the same story in all perspectives automatically assigning the presets to it. The command is called ‘Clone story to all perspectives’.
When the estimation session starts, stories will be switched automatically and cards/estimation mode changed as the process flows. This way estimating a story from different perspectives becomes a smooth experience.
Example setup
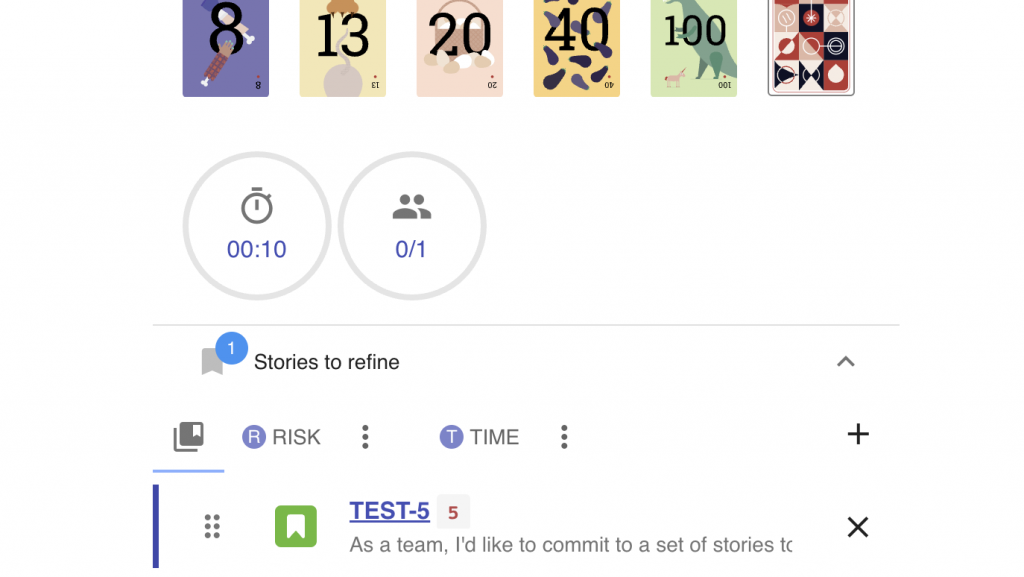
First, lets leave the default perspective unchanged (it is unnamed, the first icon in the list of perspectives). It will estimate our story with story points as usual.
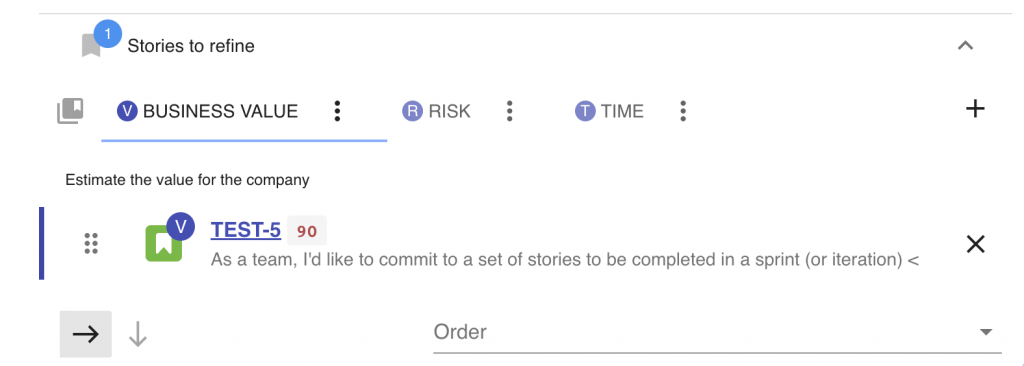
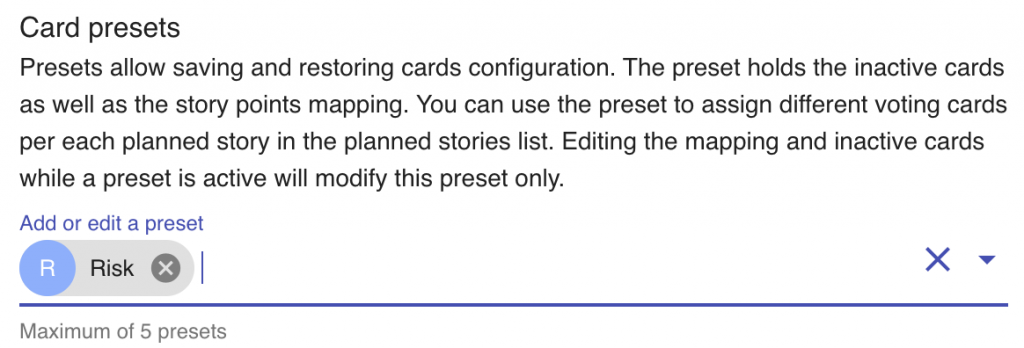
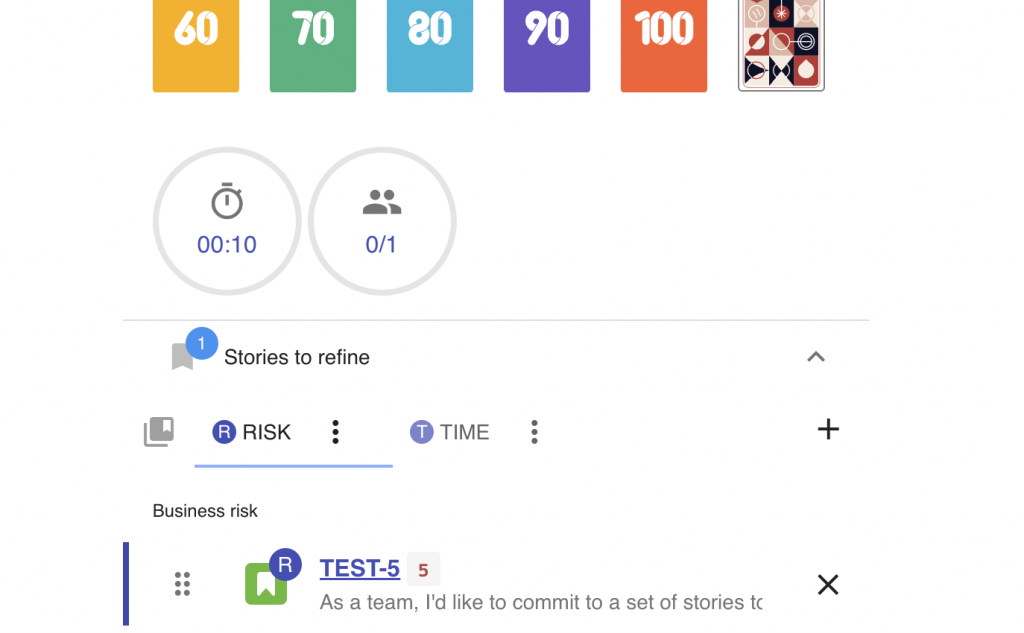
Let’s create a second perspective called Risk that updates a field called ‘Custom Number’. This is done by creating the Risk perspective from the ‘+’ button in the story list.

Next comes assigning a preset that stores estimation in numeric field ‘Custom Number’.
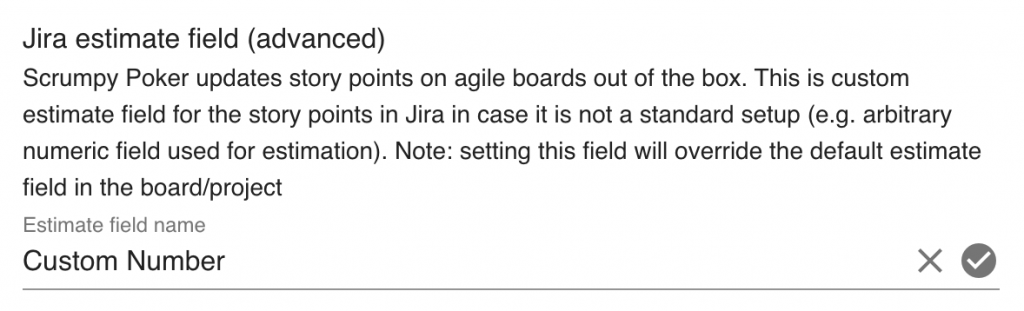
Set the ‘Custom Number’ (or whatever field you’re using) as estimation field.
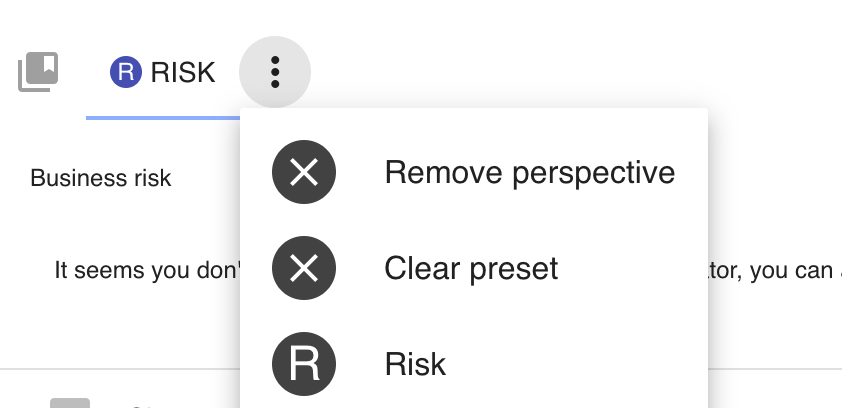
Assign the Risk preset to the Risk perspective
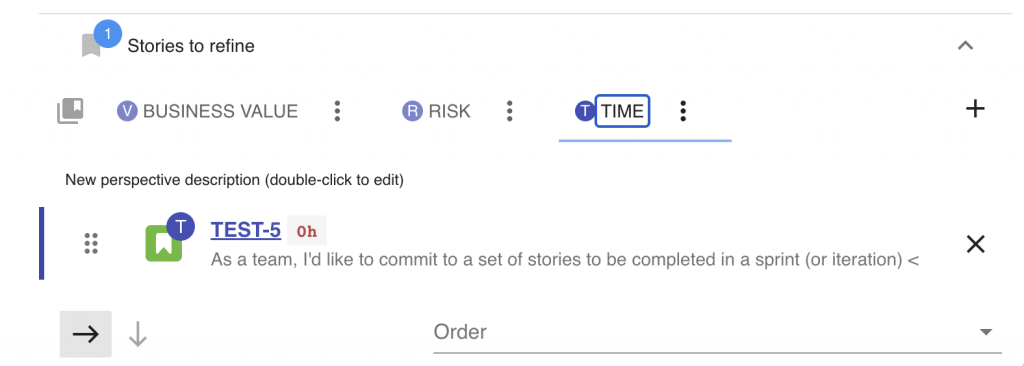
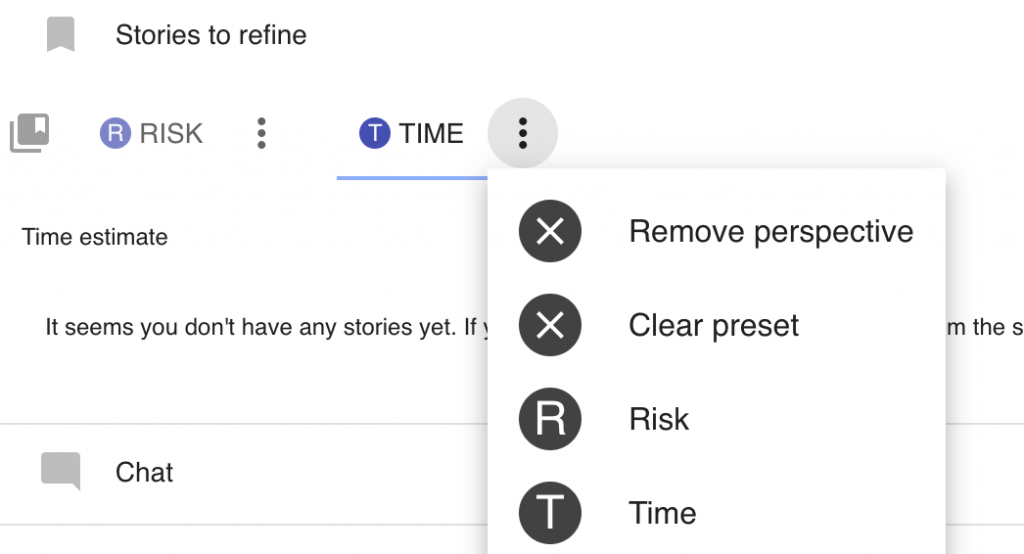
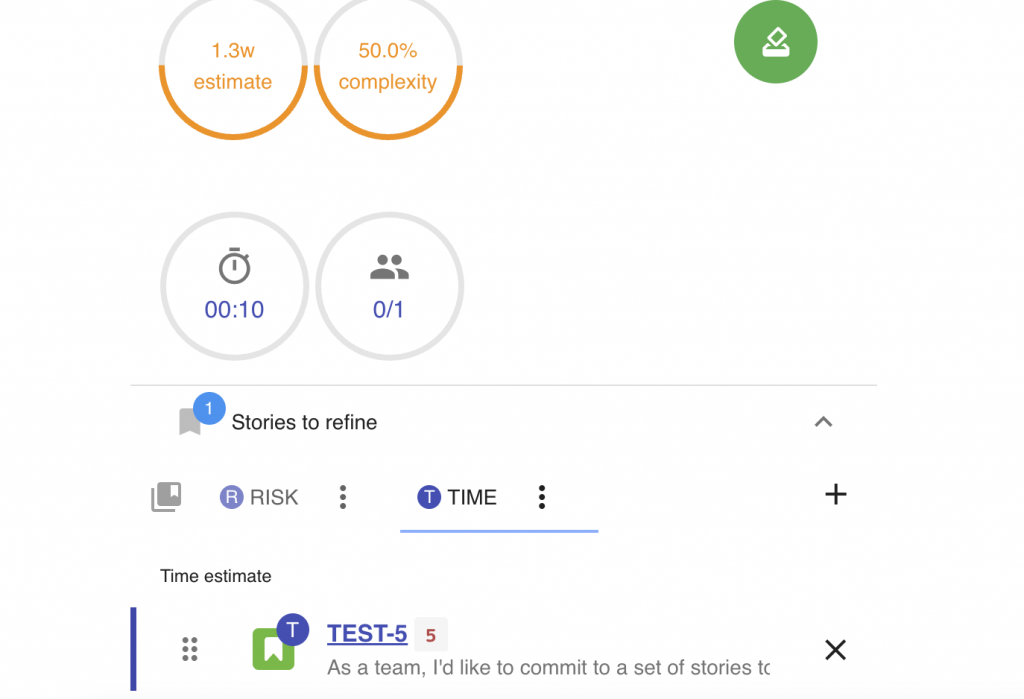
Finally, create a third perspective called Time that will hold time estimate. This is done by creating the Time perspective from the ‘+’ button in the story list and assigning a preset that stores estimation as time, e.g. it has story point to time mapping. Let’s also enable free scale so that arbitrary time can be given.

Create a Time preset with time mapping and free scale voting

Assign the Time preset to the Time perspective
Note: For estimating with time, please either use the default perspective in case Time is the default board estimation in Jira or set the field ‘Time tracking’ as the estimate field for the Time preset. In the last case please make sure the ‘Time tracking’ is in the Jira edit screens for this issue type.
Now let’s add a story and clone it to all 3 perspectives (‘Clone to all perspectives’ button). When the voting session starts the cards and updated fields will vary according to the preset assigned to the perspective. In one shot the story will have 3 type of estimates.
Now when scrolling through the perspectives the same story looks different in each perspective.
Extra fields editing
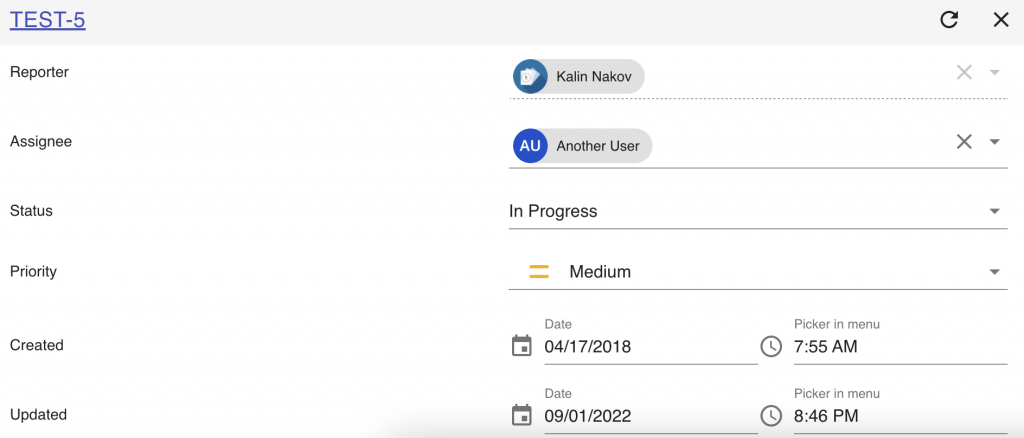
Previously the Additional Information section in the collaboration view showed few static fields. This was not very convenient for more complex stories which requires the display of multiple fields, editing fields while voting for the story, etc. Now the it is possible to customise the list of fields displayed in a story based on the story preset and make it easy to change assignee, sprint, add labels and many more. Almost all fields that are visible in Jira can be displayed and the order and the list of fields that are displayed is completely customisable so that you can focus only on the essential information during the estimation.
By default, the room starts with no additional fields displayed. The list can be edited from the settings. There is a shortcut button though to quickly get you started.

After pressing the button for adding the most common fields, edit boxes for changing the issue type, assignee, labels, etc. are automatically added. If you’d like to customise the order and add other custom fields, this can be done from the settings. Certainly, instead of the default list of fields an individual setup can be created from scratch from the settings box. Each field configuration is specific to the current preset if such is created. Otherwise, as usual, the settings are changed globally for the room.

After the fields are configured, they will change as per their defined preset (if any) while scrolling through the scheduled stories for estimation.
Note: Some fields may not appear for certain issues. For example fields specific to Issue screens won’t be visible for Bugs. If you don’t see your field, even though you’ve added it in the settings page, please check if this field is displayable for this project and issue type.
Note: If you observe that a widget is not properly displaying or editing a custom field, please report that to us with enough information about the field type. We’d be happy to fix it in the next releases.
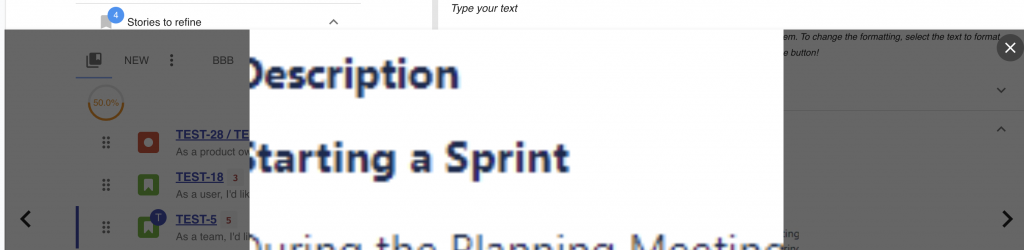
More description fields
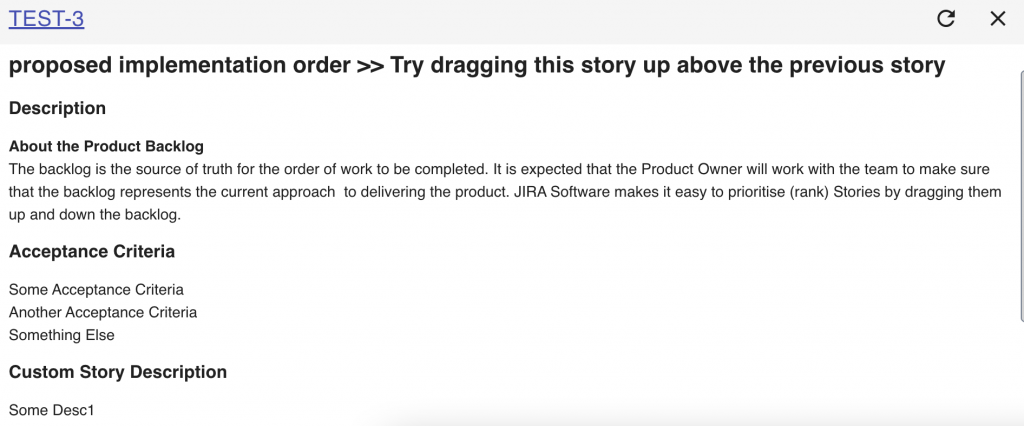
So far only the description field was displayable and editable in the collaboration view. Now any multi-line field can be added to the collaboration view in the description section. Such fields are the Environment, Acceptance Criteria and others. They can be other plain text or rich text. The list of fields is controlled from the room settings and is specific to each preset (if defined). This allows switching to the right description fields when focusing on different types of stories or voting perspectives.
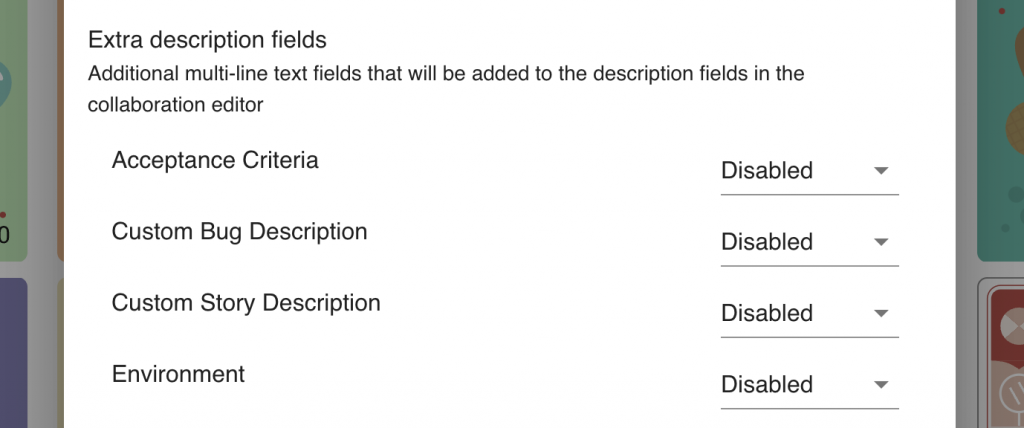
When the description fields are properly configured with Rich Text and Plain Text to fields that should be displayed, they will be shown in the collaboration view.
Note: Please use presets to assign specific description fields to specific issue types otherwise you may get empty text or errors when editing the descriptions.
Note: Please make sure you put Rich Text to description fields that support styling of text to avoid having strange HTML tags in the description when editing them both in Jira and in Scrumpy Poker.
Comments
With this release it is now possible to view comments in the collaboration view. The comments are displayed newest first and there is an expand button to show more. Usually the top 5 comments are enough to display in the ticket to get enough context, but more can be shown on request.

New comments can be added with the Add Comment button. The comments can contain rich text, e.g. can be formatted and styled as in Jira.

More intuitive asynchronous voting
So far asynchronous voting was a bit awkward as experience. The voting had to be done through a button at the right side of the story. This lead to mistakes as some time the voting was activated as a card was pressed instead of this button. Now this has been addressed and the asynchronous voting has 2 modes of operation.
Asynchronous voting mode
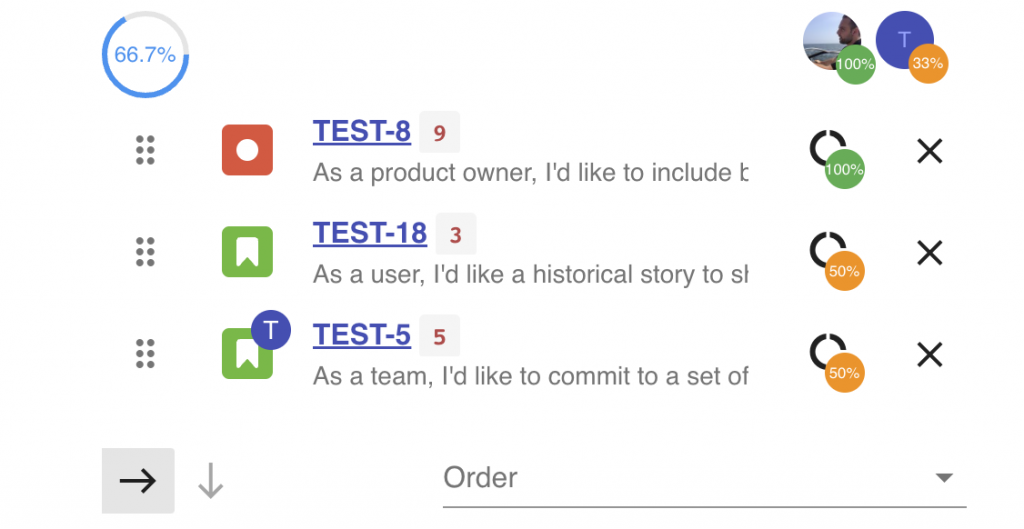
This is a new mode of operation. In this case nobody except the moderator can start the voting session. When pressing the voting cards the vote is marked and statistics for voting is collected. The moderator can always press a card to add his/hers vote to the issue or to press the donut icon to only accept the other participant’s votes.
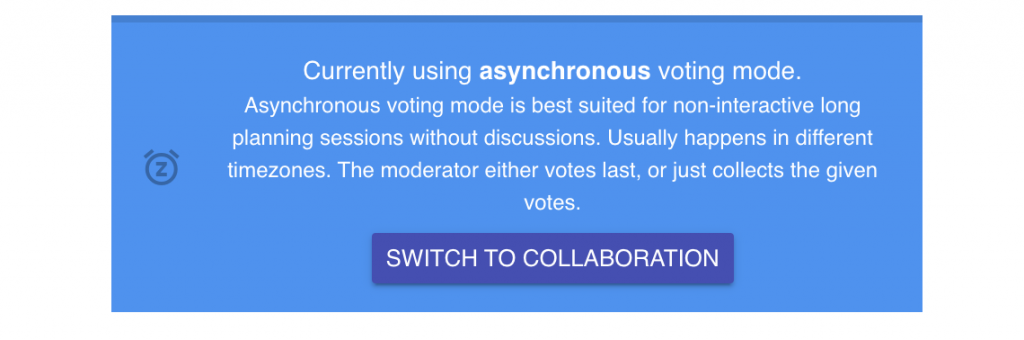
This voting mode is suitable for completely asynchronous operation when there is a team in another time zone contributing with votes.
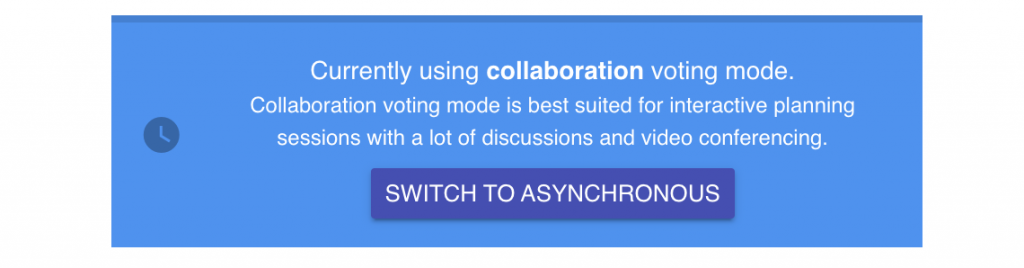
Collaboration voting mode
This is the old mode of operation. In this mode of operation anyone can start the voting when focusing on the currently selected story by the moderator. It is a normal voting mode with the slight difference that there are voting statistics who voted before and when the votes are accepted the currently participating users can see the votes of users who voted asynchronously.
Use cases
There are several use cases for using asynchronous voting. They depend on the availability of team members, time zone distribution, etc.
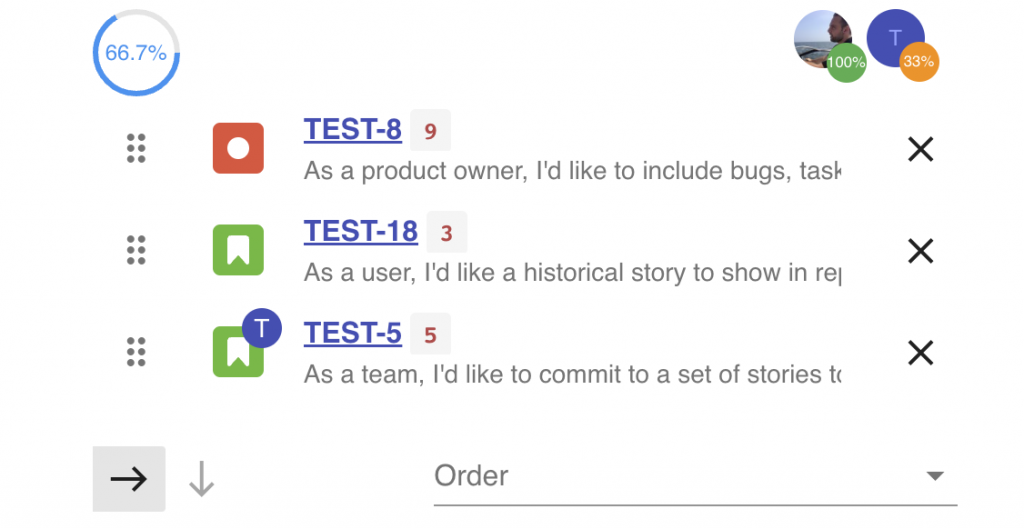
- Team doesn’t want to discuss votes. In this case Asynchronous Voting can be used. When the team members complete voting, the moderator will see which team members have already voted and just press the ‘donut’ button on each ticket to accept the estimate.
- Part of the team is in another time zone and cannot participate in the discussion of estimates. In this case part of the team members can vote in advance. The rest of the team members who can appear online can vote the usual way in collaboration mode contributing on top of the already given early votes. In this case the Collaboration Voting can be used and this mode can be switch right before starting the collaboration session to avoid incidental start of the voting by an early voter and allow early voting certainly. When this mode is switched, the early votes are available, but it is not possible for the moderator to just accept the votes. The currently online team members must vote as usual. The early votes will be added to the result.
Search filters
Jira has search filters that can be assigned to boards to make issue listing easier. Boards can share filters and also those filters can be used for some predefined queries to which the Jira users are used to.
Now those search filters are available in Scrumpy’s search box. The search filters are an easy shortcut to predefined JQL queries stored in the Jira instance.
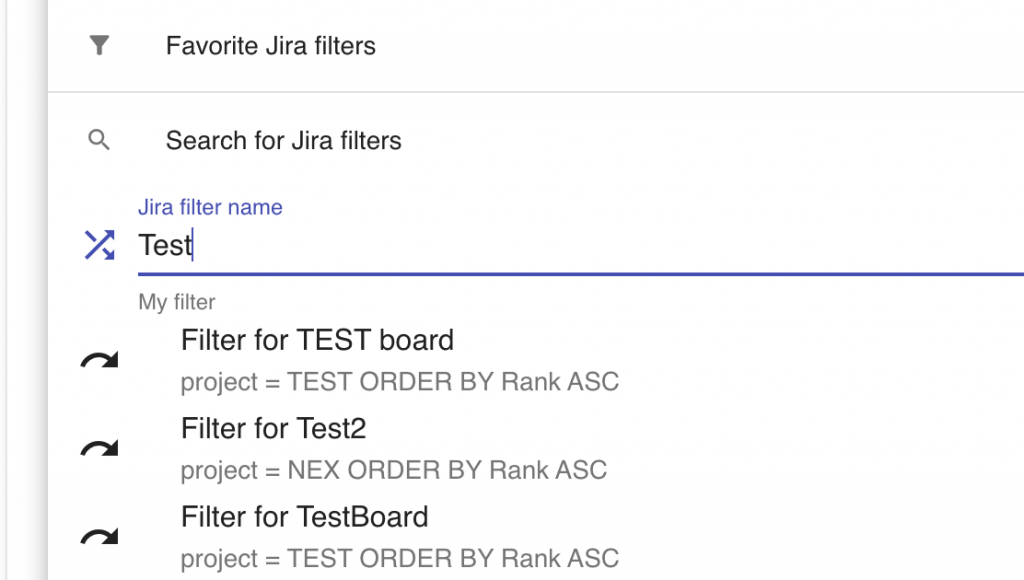
The starred filters in Jira appear as ‘Favorite Jira filters’ in the filters search box. This is a shortcut to the favorite/started filters that are most frequently used in the Jira instance.

Min & Max range for free scale
Before the limit of the free scale was limited by the maximum value of all cards. Now this has changed there is an option to increase the maximum range or set a new min range with a couple of sliders in the room settings.
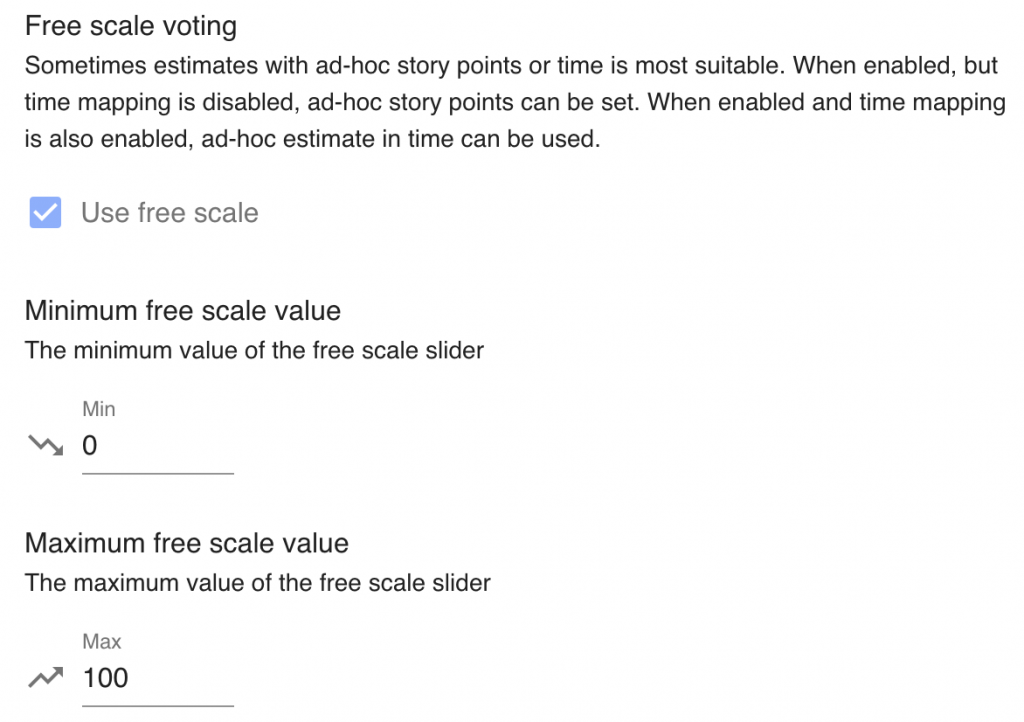
After the ‘Use free scale’ option is enabled for the room globally, or for a preset, there are 2 new edit boxes that allow the modification of the minimum and the maximum range of the free scale.
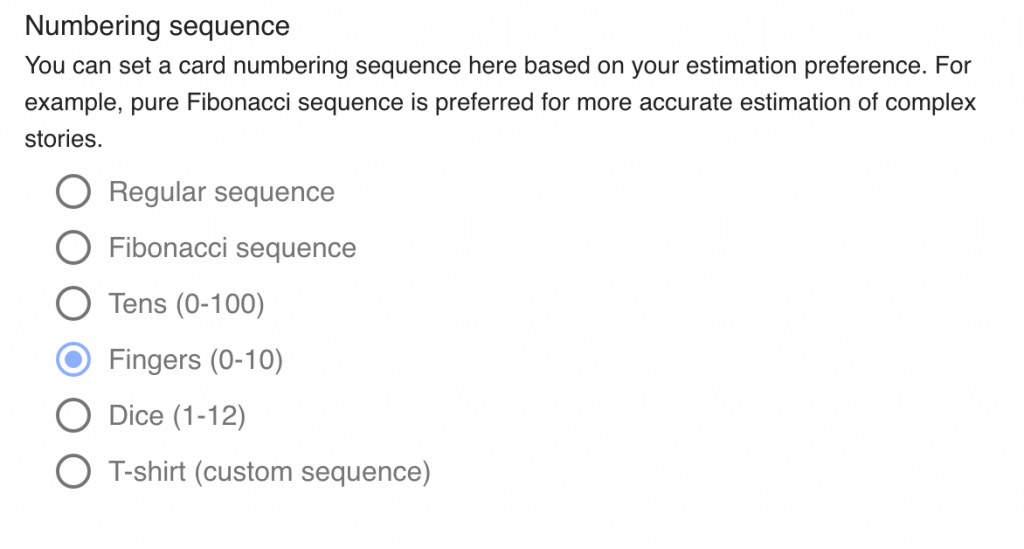
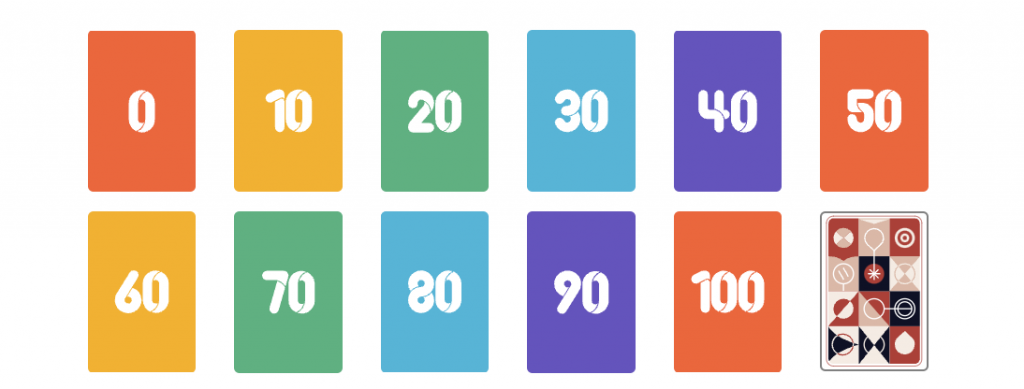
Tens Dice Fingers
So far the cards showed exponential complexity of stories that were estimated. Linear complexity estimation was possible through a customised T-Shirt card setup or through the free scale voting (slider). Now there is another option to use small-range easy to use set of cards.
The new card sets are selectable from the room settings. The card sets are available for the settings globally and for presets too.
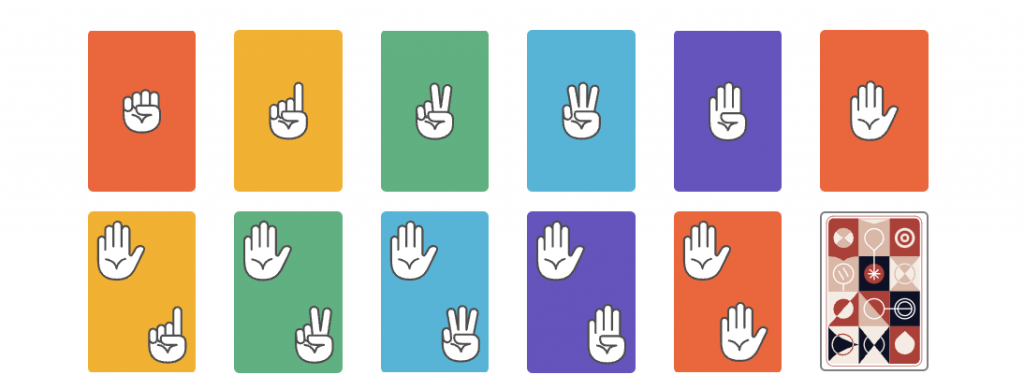
Fingers
This is a way of estimating stories from 0 to 10. It is a digital representation of voters using no cards and instead using their fingers for voting.
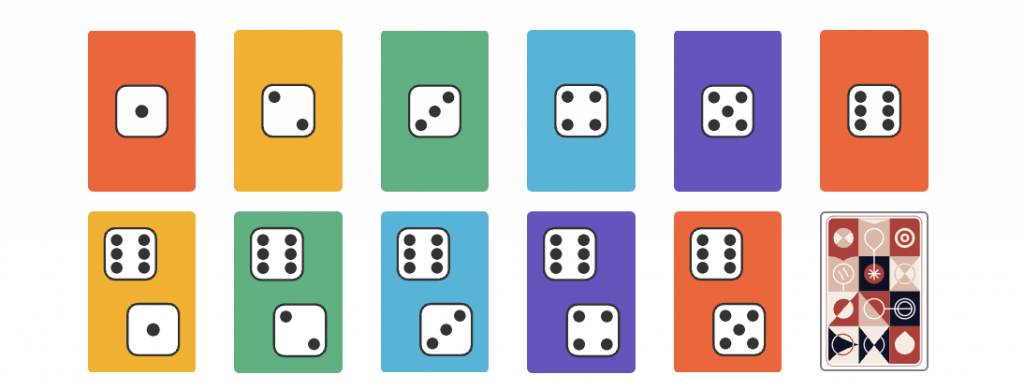
Dice
Using dices it is possible to easily estimate stories linearly from 1-12. It is a digital representation of voters rolling dice for estimation.
Tens
In some cases it would be useful to measure complexity in percentage, say 0-100 roughly and then precisely adjust estimation in the summary dialog. Rough estimation by rounding (depending on the chosen averaging algorithm) is the default. Precise adjustments like 23% can be done if you enable the ‘Show numeric labels’ option in the settings dialog. This way in the summary dialog the team starts with the average unrounded and adjusts it precisely based on the discussion and team feedback.
Need more cards? Please let us know if you can’t find your favourite set of cards that you’d like to use.
Bugfixes
There are several minor bugfixes that made their way through this release.
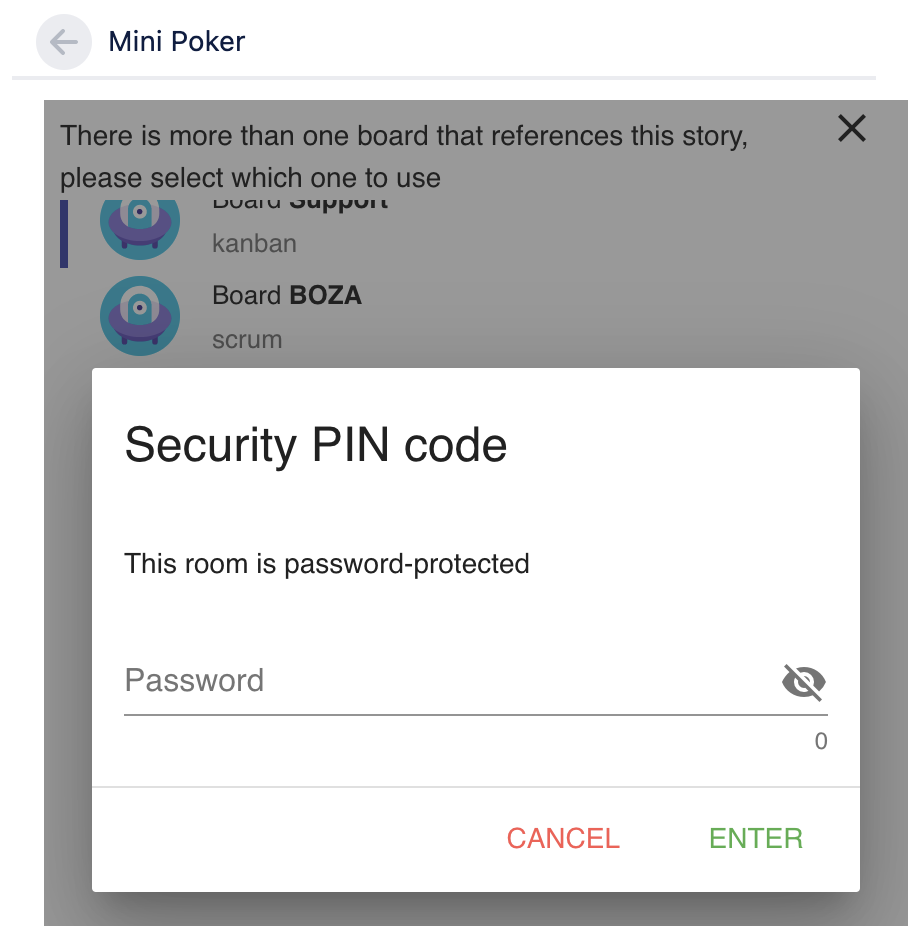
Pin code in micro/mini poker
Before if you have set a PIN code to the master poker view (the icon on the left pane of the Jira board) it was not possible to use mini/micro poker. Now it is possible and there is a prompt to enter your PIN code if not yet entered. It’s entered once and remembered until changed. This unlocks the mini/micro poker views.
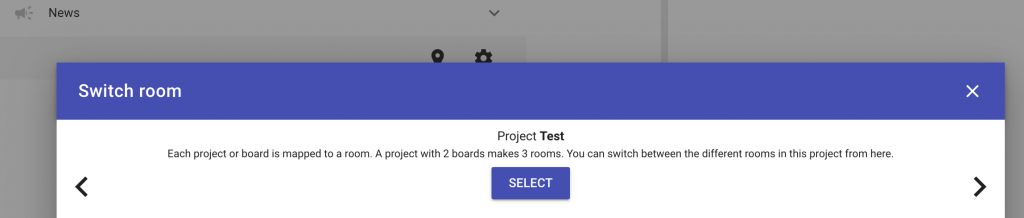
Board switching in Jira server
Previously the board switching feature was only available in Jira Cloud. Now boards can be switched from inside the board room using the same button (with location icon). It opens board selector dialog box to open a new room.
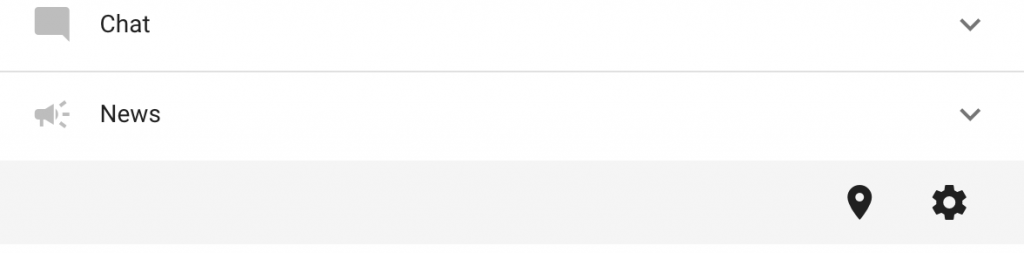
Pressing the room selector will open a dialog box in the bottom part of the screen to find another room to switch into. This is equivalent of navigating to another board and selecting the room.
Attachments not displayed
Before it was not possible to view attachments as images, documents, etc. Now participants with access to the story can see the attachments and scroll through them easier.
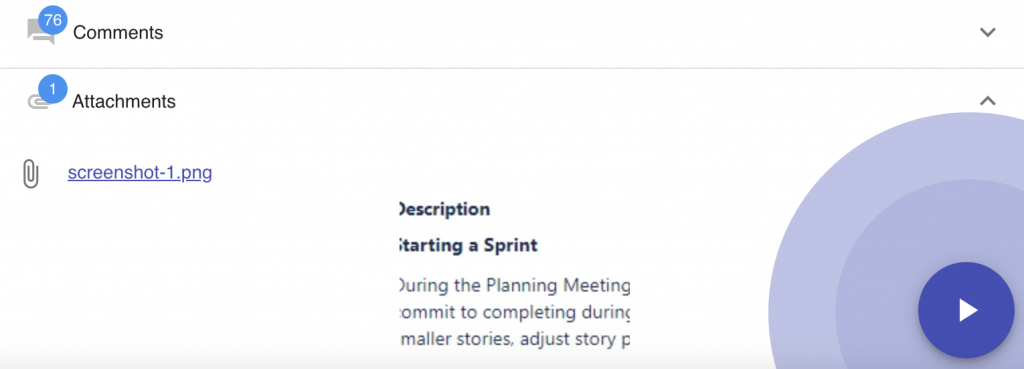
Additionally, image attachments can be watched as a carousel preview. When an image attachment is selected, a carousel view pops in the bottom of the screen.
Pause resume not always triggering immediately
Before sometimes the pause resume did not calculate properly the remaining time leading to immediate finishing the game after resume. Now the timers for the game are centralised and pause/resume and the remaining time until the game ends are properly calculated.
Gitlab images not displayed
Before the gitlab integration used wrong image URLs in the description. Now the images are properly shown. Additionally, attachments are now downloadable and commenting is accessible (list, create delete comments).
Happy voting!
All those nice features (and fixed bugs) have been completed thanks to our users – they have requested and we have implemented them. Please help Scrumpy Planning Poker become even more convenient for you by submitting a feature request/bug to our Feature Requests page or up-vote an existing feature that you find useful. Thank you!